
 Esperanto
 Shqiptare
 Euskara
 Zulu
Zulu
 Latinus
 Cymraeg
 தமிழ்
தமிழ்
 Slovak
 Slovak
 Afrikaans

ALS maintenance classroom (4) Replace the lower protective lens
Posted on:
2023-08-07
Precautions:
1. Before replacing the protective lens, we should turn off all fans and fans, try to create a wind-free and dust-free environment, and remember to wash hands (if conditions permit, please operate in a dust-free box).
2. After the protective mirror is replaced, it needs to be coaxially calibrated. Coaxiality directly affects the quality of cutting. Poor coaxiality will cause one side to be cut well and the other side to be cut badly when cutting the iron plate. That is to say, the laser beam and gas, the laser beam need to be shot from the middle of the nozzle.
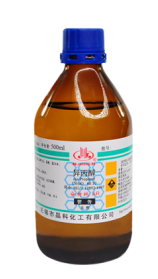
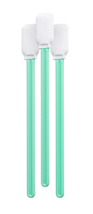
Preparation tools: alcohol, cotton swab, disposable gloves, new protective lenses, transparent tape


Operation steps:
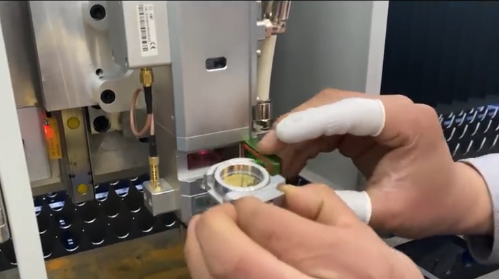
1. Dip a small amount of alcohol with a cotton swab, and carefully wipe the area around the protective lens cover to prevent dust from entering the cover and affecting the optical lens inside when opening the cover
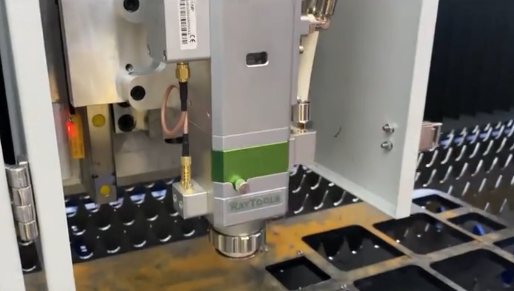
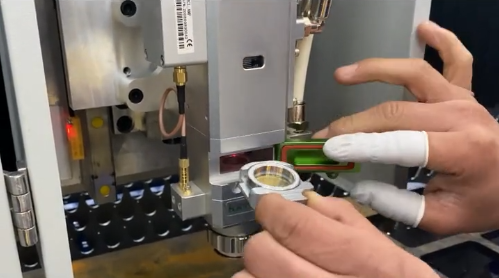
2. Loosen the screw to open the lower protective window
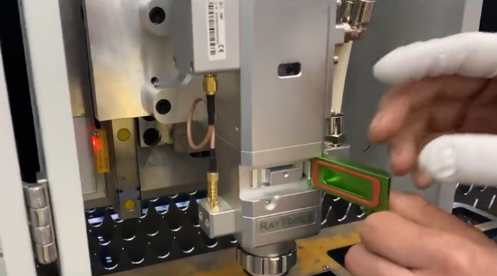
3. Take out the protective mirror holder quickly
4. Close the mirror cover to prevent dust from entering
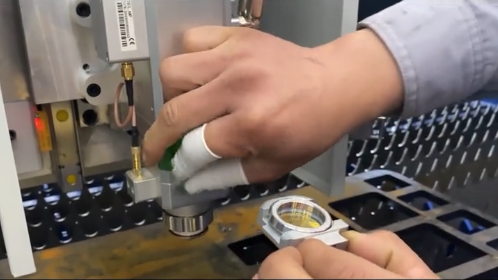
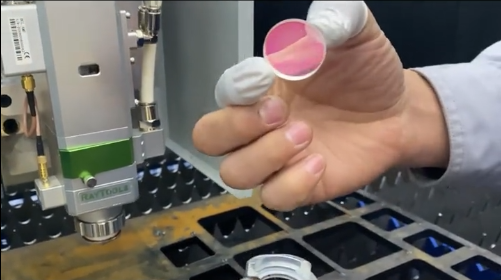
5. Take out the plug seal first, and then take out the old lens
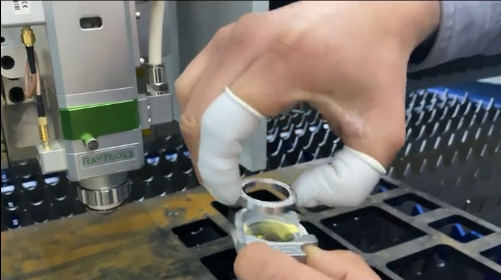
6. Take out the new lens. When disassembling the new protective lens, you need to aim at the strong light to check whether there is oil stain on the lens. (It is inevitable that the lens will have oil stains and spots during transportation, but it will not affect the correct use). If yes, it needs to be carefully wiped with a cotton swab or dust-free cloth. After cleaning, pinch it at both ends of the lens and put it into the mirror holder, quickly cover it with a plug seal, and pay attention not to touch the two sides of the lens with your hands.

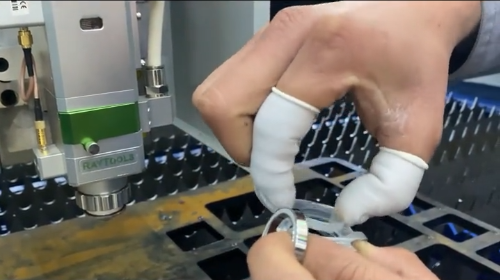
7. Put the lens in and tighten the screws
8. Replacement completed

9. After the lens is installed, it is necessary to coaxially find the laser center point (this is because the production process of each factory is different, and the error range is also different). The specific operation method is as follows:
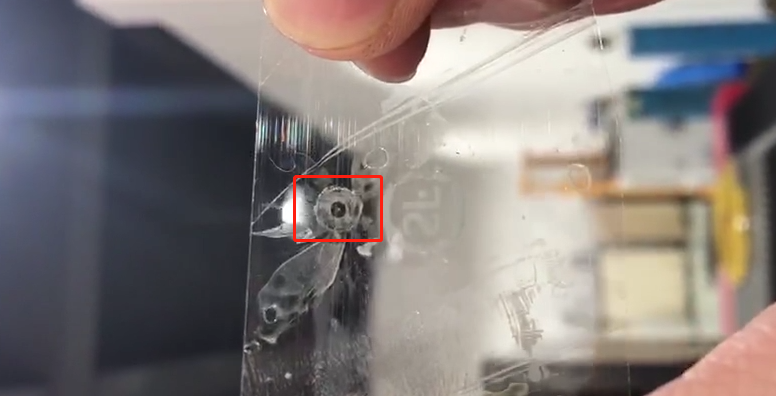
10. Take a piece of transparent tape and stick it under the nozzle

- 11."Open the shutter" on the remote control panel, and then press "Laser Spot"

12. Check whether the light output point is in the center of the nozzle, and the light output point is in the center of the nozzle, which means that the coaxial connection is successful and the cutting can be carried out (if the light output point is not in the center, the position of the lower focus lens needs to be adjusted)

Related Info

ADD: No. 521, Zhujiang Road, Huqiu District, Suzhou City, Jiangsu Province, China
Follow us