
 Esperanto
 Shqiptare
 Euskara
 Zulu
Zulu
 Latinus
 Cymraeg
 தமிழ்
தமிழ்
 Slovak
 Slovak
 Afrikaans

ALS Maintenance Classroom | Replacing the Focusing Glass
Posted on:
2023-07-14
ALS Maintenance Classroom | Replacing the Focusing Glass
Precautions:
(1) Please operate in a dust-free room
(2) It is better not to install lenses with naked fingers, but wear disposable anti-static gloves
(3) Do not use suction instruments to avoid scratching the lens surface
(4) Avoid talking above the lens and keep away from things that are easy to pollute
(5) Do not touch the film when taking the lens, and hold the edge of the lens
(6) Be careful not to let hard objects touch the polished surface of the lens
(7) After replacing the focus lens, it is necessary to calibrate it by coaxing
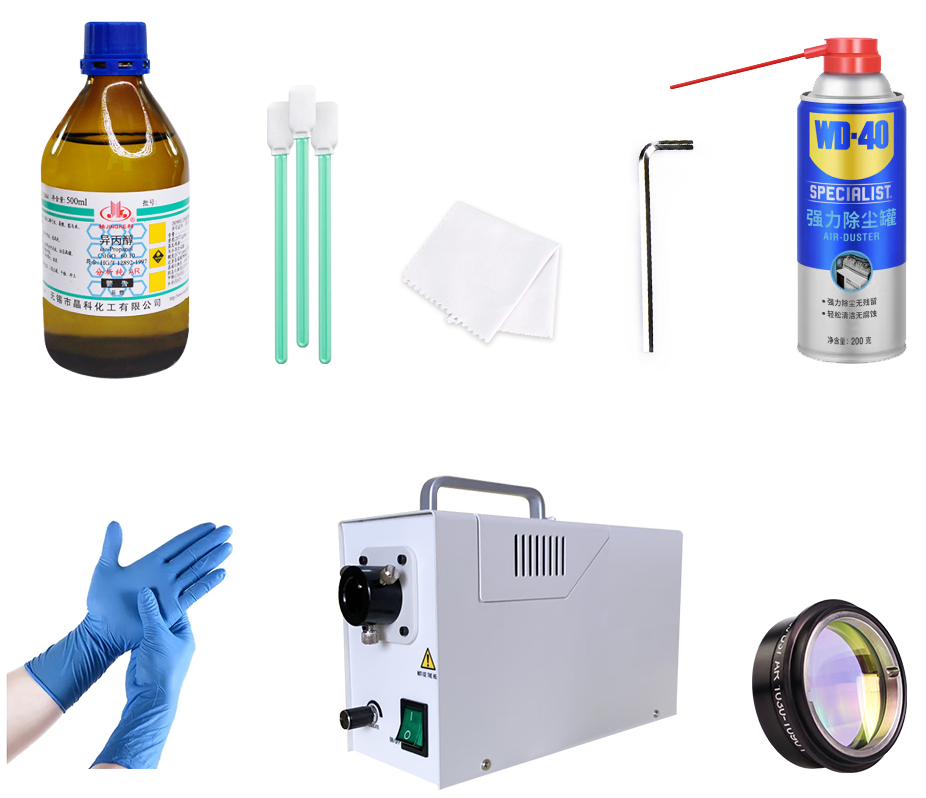
Prepare tools:
① Isopropanol ② dust-free cotton swab ③ dust-free cloth ④ Allen wrench ⑤ dust remover ⑥ Disposable anti-static gloves
⑦ Optical fiber cold light source machine
⑧ New focusing lens ⑨ Transparent tape
Operation steps:
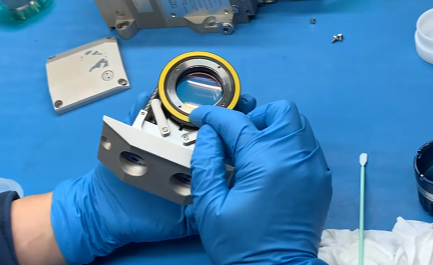
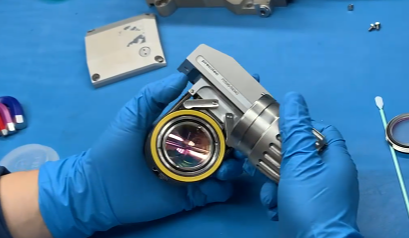
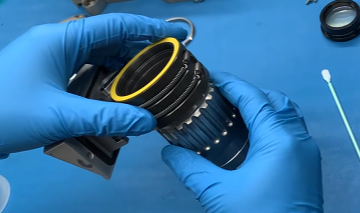
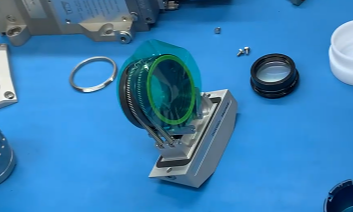
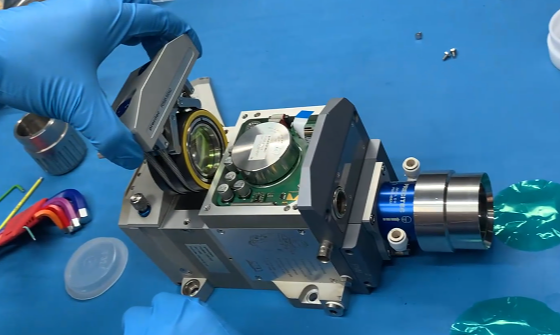
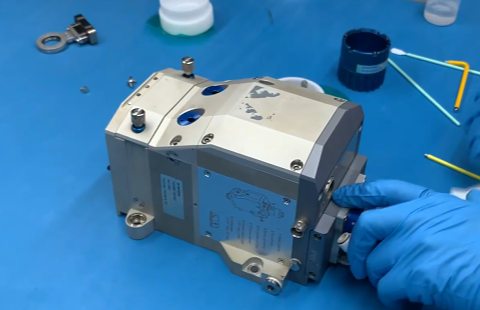
1. Remove the cover plate of the focusing lens. The screws are coated. Please place them separately
 |
 |
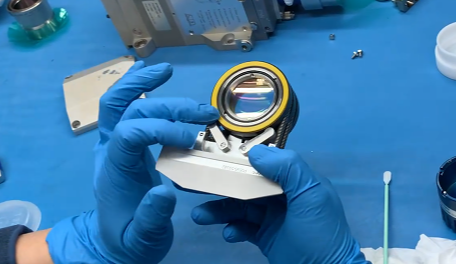
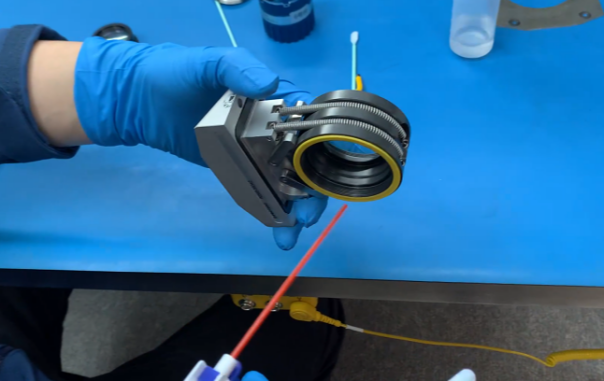
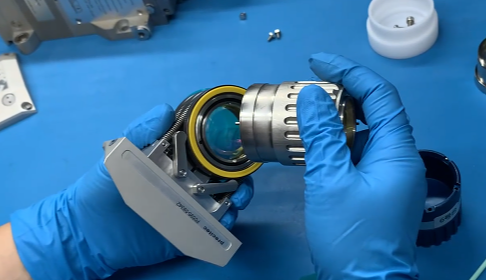
2. Take out the focusing lens and put it vertically on the desktop
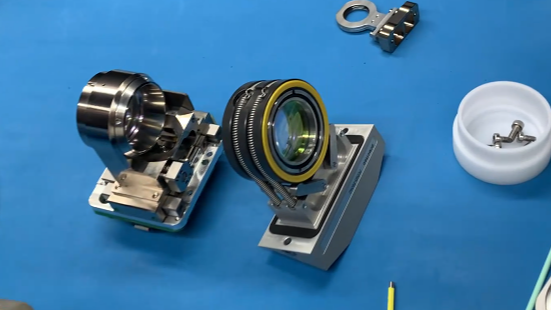
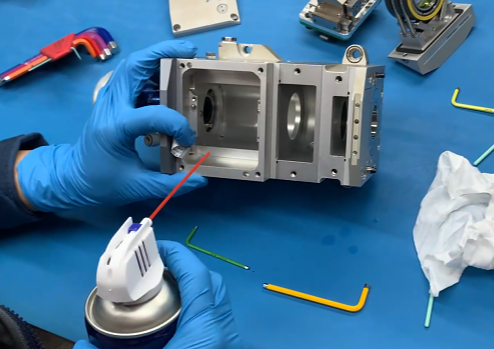
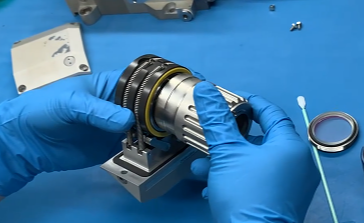
3. Check the cabin for dust
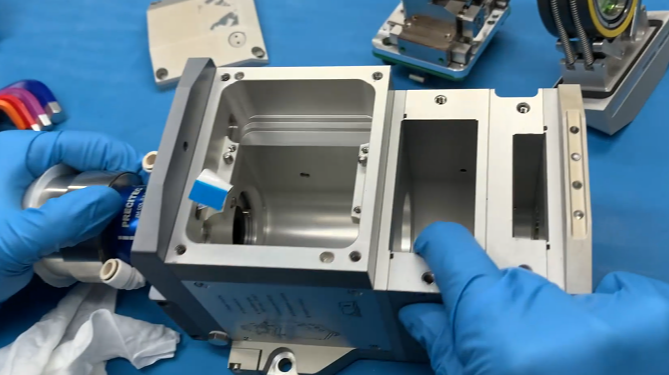
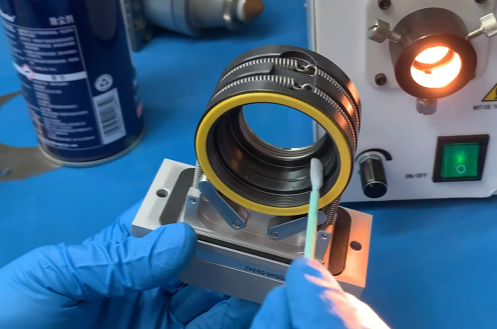
4. Clean the interior with anhydrous alcohol or isopropanol (IPA), and clean the QBH interface
 |
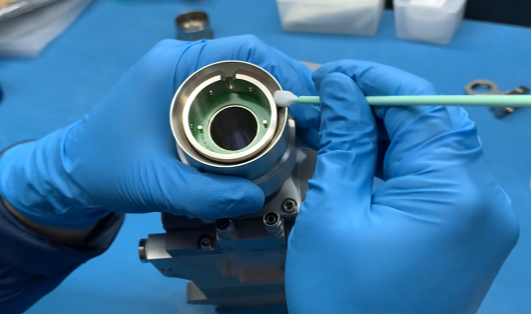 |
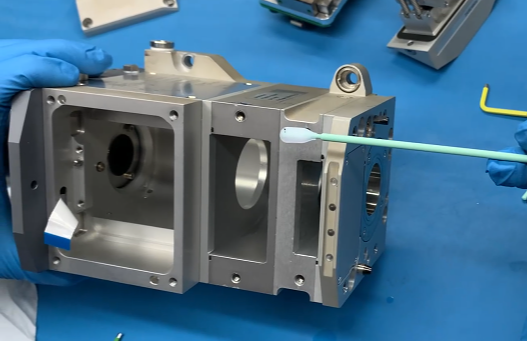
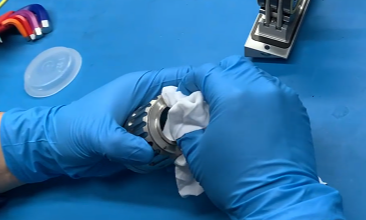
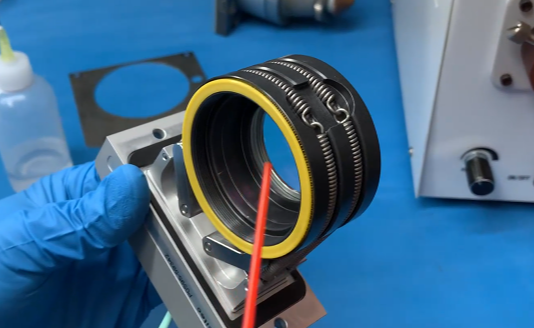
5. Use dust remover for secondary cleaning
6. Paste plastic film on the cleaned cabin
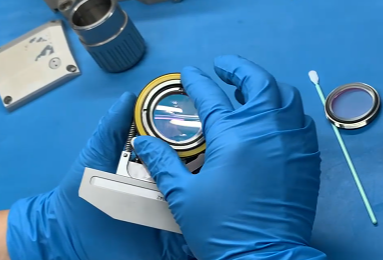
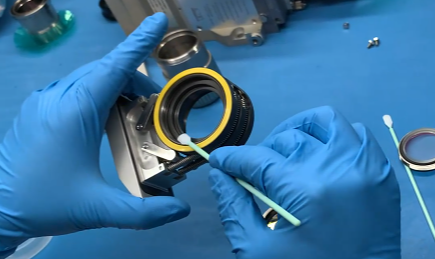
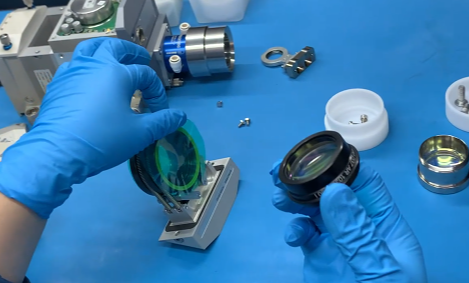
7. Remove the protective lens in the focus lens group first, and then remove the focus lens
8. Wipe the mirror wrench with cotton cloth first
9. Align the clip of the protective lens and turn it slightly to open


10. Put the removed protective mirror aside first
 |
 |
11. Continue to disassemble the focusing lens (as above)
 |
 |
12. Place the metal ring
 |
 |
13. Place the removed focusing lens aside
 |
 |
14. Continue to clean the mirror slot assembly just removed, and clean it again with dust remover
 |
 |
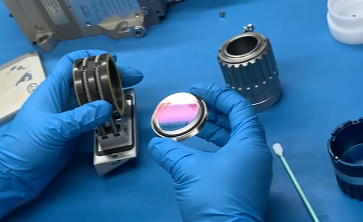
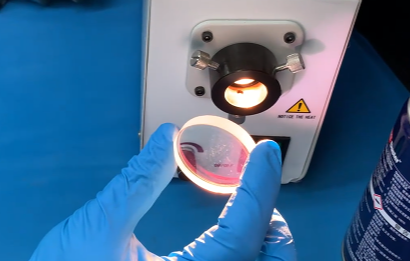
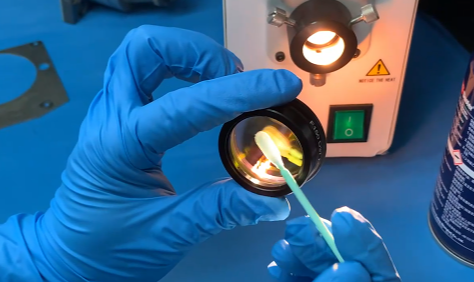
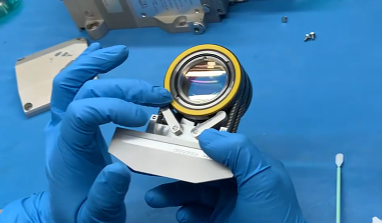
15. Take out the new protective lens of the focusing lens and check whether the lens is clean under the cold light source
 |
 |
16. With the help of the mirror wrench, put the lens first, and then put the metal washer
 |
 |
17. Align the buckle and tighten it
 |
 |
18. After installation, clean it again, dip it with anhydrous alcohol, wipe it gently with cotton swab, and clean it again with dust remover
 |
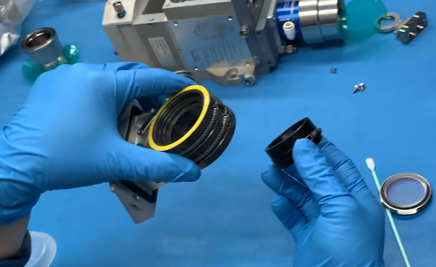
19. Stick plastic film on both sides of the cleaned mirror group
 |
 |
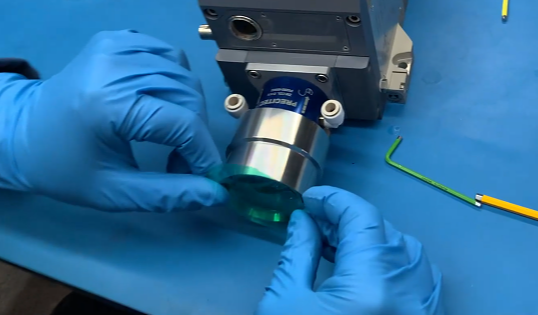
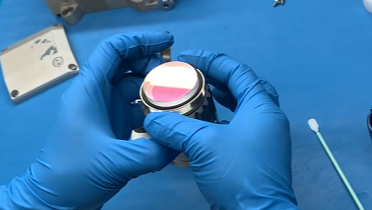
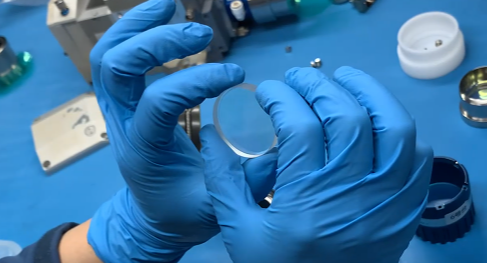
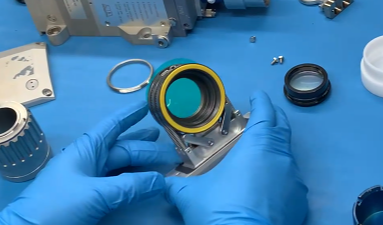
20. Prepare a new focusing lens and check the lens for dust under the cold light source
21. Tear the plastic film
22. Install the focusing lens first, and then install the metal ring
 |
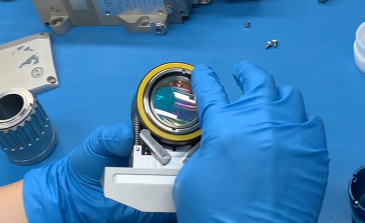 |
23. Tighten with a wrench and replace the focusing lens
 |
 |
24. Put in the cabin and tighten the external screws
 |
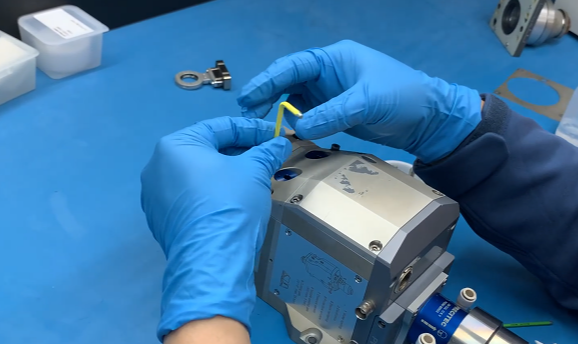 |
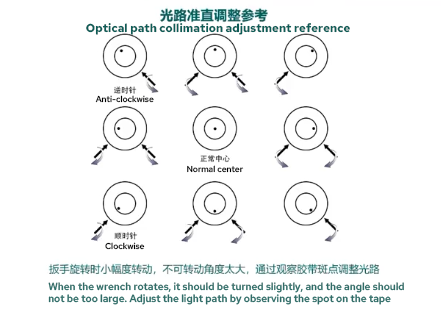
25. After the replacement, it is necessary to find the laser center point by coaxing (this is because the production process of each factory is different, and the error range is also different). The specific operation method is as follows:
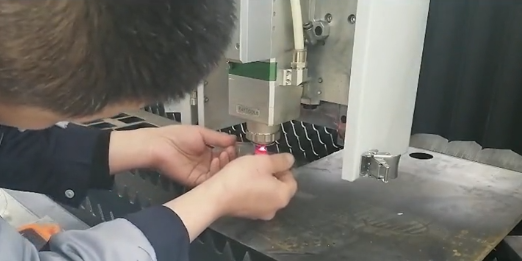 26. Take a piece of transparent tape and stick it under the nozzle
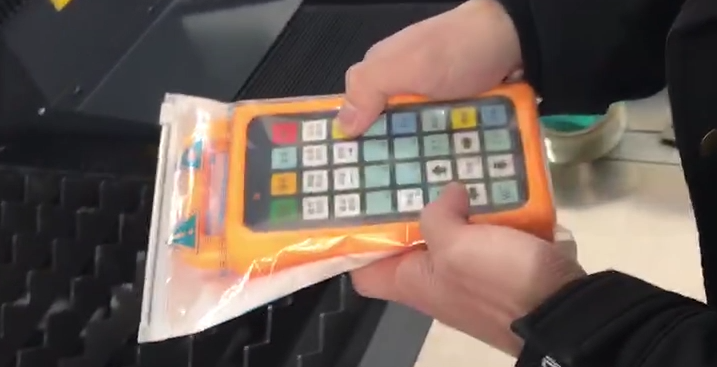
27. "Open the shutter" on the remote control panel, and then press "Laser Spot"
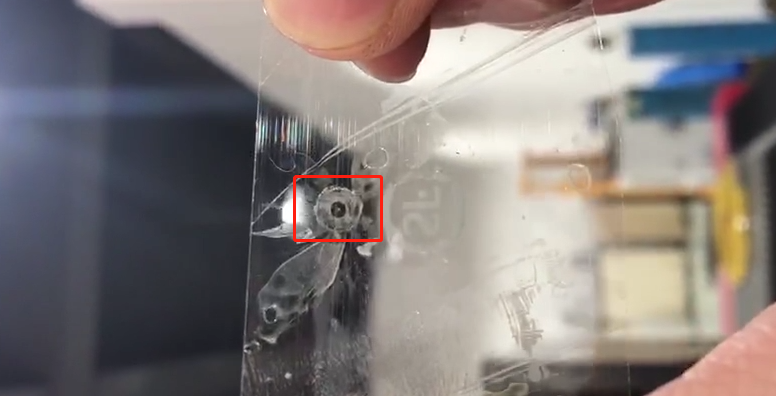
28. Check whether the light output point is in the center of the nozzle. The light output point is in the center of the nozzle, indicating that the coaxiality is successful and the cutting can be carried out (if the light output point is not in the center, the position of the lower focus lens needs to be adjusted)
Related Info

ADD: No. 521, Zhujiang Road, Huqiu District, Suzhou City, Jiangsu Province, China
Follow us